|
...Make basic latex masks
This How-to will tell you how to make a basic custom
Halloween rubber monster mask or prop from scratch. Make sure you check out
the two simple latex making articles from the How-To
article index before attempting this. We are going to make the mask from
scratch and fabricate the finished item from latex.
Important - this will be an opened back mask. If you
wish to make a full overhead mask then check out
the How-To for that.
As with the other latex making tutorials, we are going to
make a clay sculpt from Oil Based Clay which is a non-air drying
clay. This time we'll sculpt the piece over a mannequin head so the item is
not made of solid clay. Mannequin heads are generally smaller than adult
human heads and also not 100% anatomically correct. However, this is a good
basis for something that is generally non-human anyway.
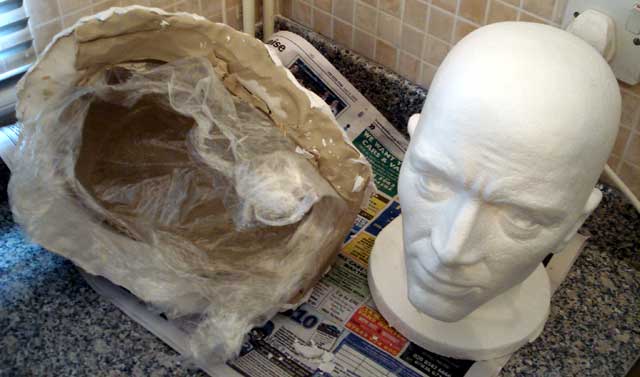
The first step is to cover the head with cling film or
foil which makes getting the clay off right at the end much easier - so you
don't ruin the mannequin head which can be used for display afterwards. We
have started with a budget polystyrene mannequin head and 2.5Kg of Oil Based
Clay:

Important: Oil Based Clay is reusable - you can use it
time and time again to make different sculpts once you've finished with the
moulding stage of the process.
Oil Based Clay is then built up all over the head, starting
with long strips to map out the mask until it's covered. This gives us as
base to stick more clay to and sculpt into:

Try
working lumps of clay in your hands until they are soft enough and then
stick them on to make the basic form - don't worry about too much detail
yet:
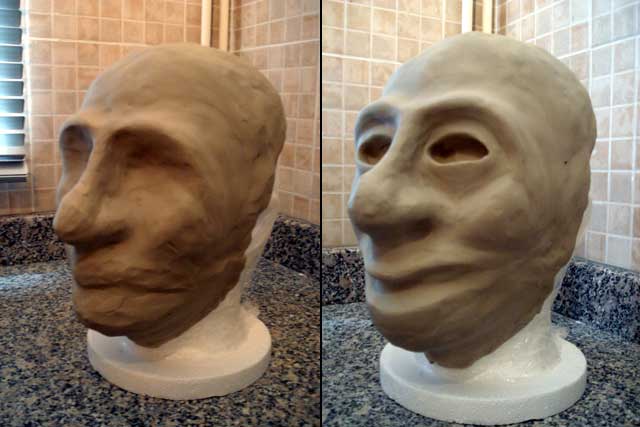
All of the basic shapes are complete and the sculpt has been roughly
smoothed all over - in this example we have gone for something plain but
sinister looking. Of course you can make anything as long as you can shape
it with clay.
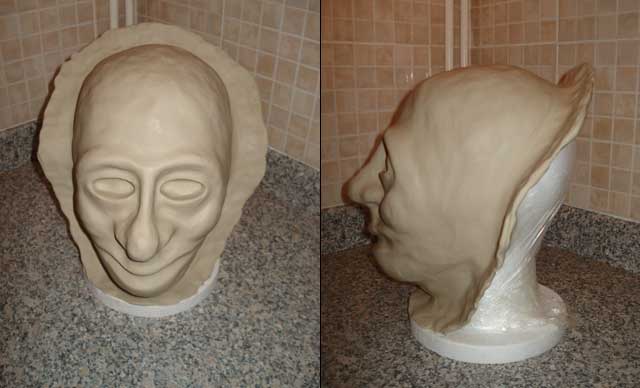
Important - we have only covered the font of the head with clay so this
will be an opened back mask. If you wish to make a full overhead mask then
check out the How-To for that.
Once your sculpt is complete it's time to make a plaster mould from it. In
this case we had some clay left over, so a shim has been made around the
mould which makes the plastering stage easier. The shim defines the edge of
the mask and stops the plaster running over the edges so much:
Now it's time to add the plaster. Apply mixed plaster all over the sculpt. You can apply this by hand, being careful not to damage
any fine details, but making sure the plaster goes into any holes and
wrinkles. We are using Herculite 2 plaster for this which is a popular hard
plaster for latex making:
Build up several layers so all of the sculpt and clay divider
are properly covered. You can also optionally reinforce the last few layers with a
cotton scrim - you can also use modroc for this to make things easier:
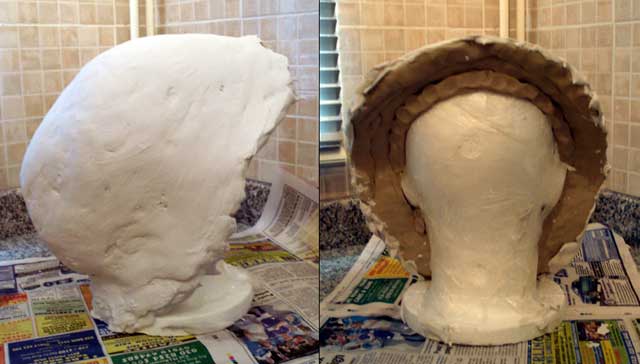
Note that the head is still free to be removed from the back of the clay
and plaster - this is very important.
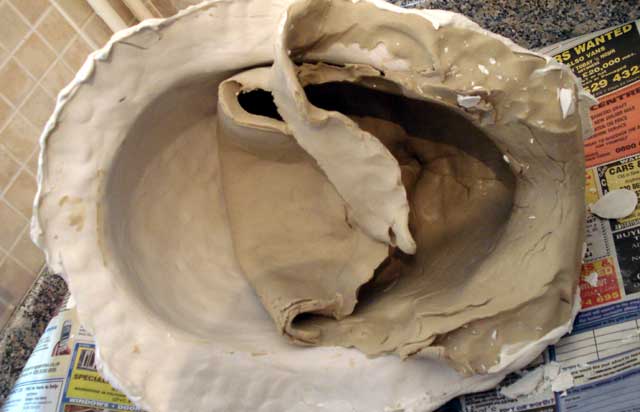
Once the plaster has had time to set - allow 1-2 hours, you can remove the
mannequin head. You may need to remove some of the clay from around the
edges to do this, but it should easily come out.
Important: Oil Based Clay is reusable - you can use it time and time
again to make different sculpts once you've finished with the moulding stage
of the process:
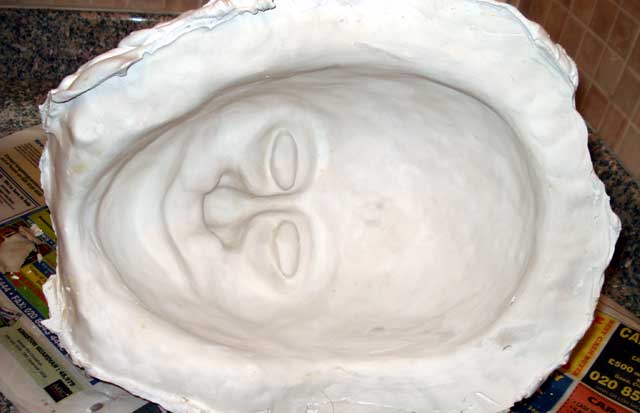
The clay should easily pull out from the mould, mostly in one piece.
If there is any clay left stuck in the mould, just use a damp cloth to clean
it away. This should leave a nice clean mould ready for the latex:
Once the mould has dried for 24 hours or so you should inspect it for any
imperfections. Now is the time to sort out any issues such as air bubbles
etc that you may find - these can be filled with a small amount of mixed
plaster and smoothed over with water.
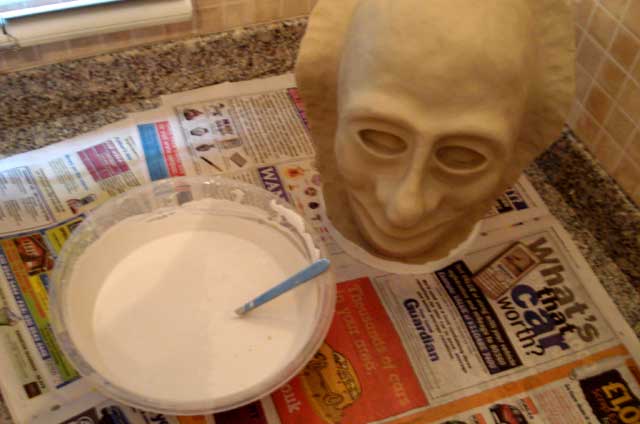
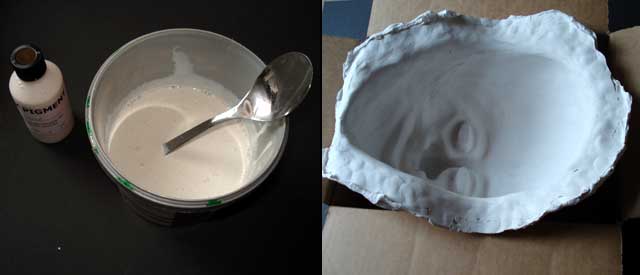
Once the plaster has had time to dry through - around 24-48 hours, it is
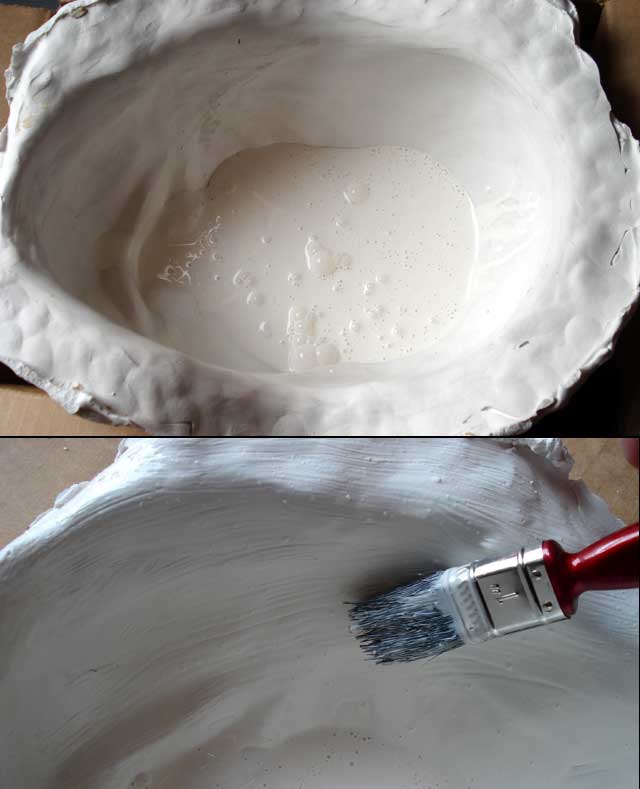
time to do the latex part of the process. This time we have used white pigment to make a
cream colour, which should be mixed in at around 5% of total latex. Although
latex is white when it is liquid, without the pigment it will dry a brown
colour. You will need around one litre or more of latex for an item of this
size, although you can make it thinner or thicker as required. We have
propped the mould in a box so the latex doesn't just run away:
Latex is poured into the mould and the mould is rotated around so it coats
the entire inside of the mould. You will notice a smell like ammonia when
working with large quantities of latex, so it's always best to do this in a well ventilated area. You can also use a brush to apply latex
to the mould all the way out and around the shim we made - the piece can be
trimmed later. Try to brush out any bubbles:
Once the mould is coated the excess can be poured out. You'll notice that
the first few coats appear to dry quickly as the plaster will absorb the
water from the latex. Once the first coat is dry repeat the process until
around ten coats of latex have been built up. If you wish any parts of the
mould to be thicker than others you can leave latex pooled in these areas
for up to an hour - you will find that the plaster sucks out the moisture
and these parts will become thicker once the excess is poured away.
If you want to make a latex mask like those that are available from fancy
dress shops etc, then around ten coats of latex should be sufficient.
Optionally you can apply layers of cheap dish cloths to the inside of the
mould and soak them through with more latex to
add stiffness to the piece. This is the same principle demonstrated in the
How-To articles that deal with latex mould making and
casting.
Once the latex has dried properly you'll notice it has gone a much darker
colour, although it's hard to tell with the white pigment. Depending on how thick you make the piece this may take up to 24
hours. Then the latex can be peeled away from the mould an removed all
together. The initial pull from the mould is pictured below. There are still
some areas that need to dry through properly which will be quicker now it
has been removed from the mould, there are also a few bits of plaster
residue stuck to the latex which will need to be washed off:
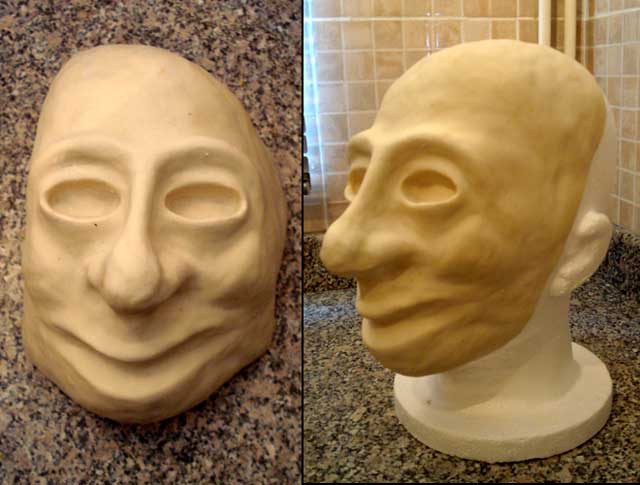
You can place your mask back on the polystyrene head so it keeps its shape.
If you leave it creased or folded it will eventually deform. It seems to fit
me ok, but be careful putting on latex masks before you've cut out a hole to
breathe through (and see through):

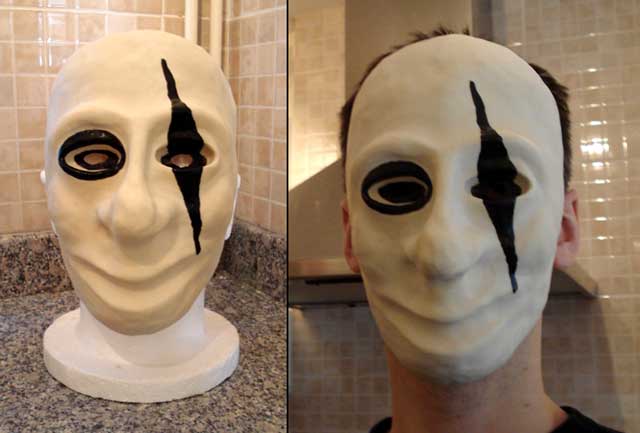
We've painted the mask with some more latex pigmented black. You notice that
when you add you 5% black pigment to the latex it's a much lighter grey than
when it's dry - check out the item we made
from black latex to see the best example of that.
We used about two coats of black pigmented latex which covered the white
base colour fine, if you paint lighter colours on darker backgrounds you
will need upwards of five coats. We also cut some small eye holes out to see
through:
Important! - Remember:
Oil Based Clay is reusable - You can use it time and time again to make
different sculpts once you've finished with the moulding stage of the
process.
The Plaster Mould is reusable - Once you've made it you can
use it time and time again to make more masks the same, just buy some more
latex and pigments as required.
You can make anything - If you can make the shape in clay you can
probably make it in latex provided you can easily remove the clay from the
plaster mould.
Accessorise it - Add teeth, hair or fabric to finish it off - or you
could make extra latex parts to add to the mask like a long tongue.
Latex sticks to Latex - If you can mix it with latex it will probably
stick to the mask, or use latex to glue extra pieces on.
Experiment - If you're unsure how something will turn out then try a
small sample of the materials first.
|
